Arduino Controlled Auto Sniper
Posted: Wed Oct 02, 2013 4:23 am
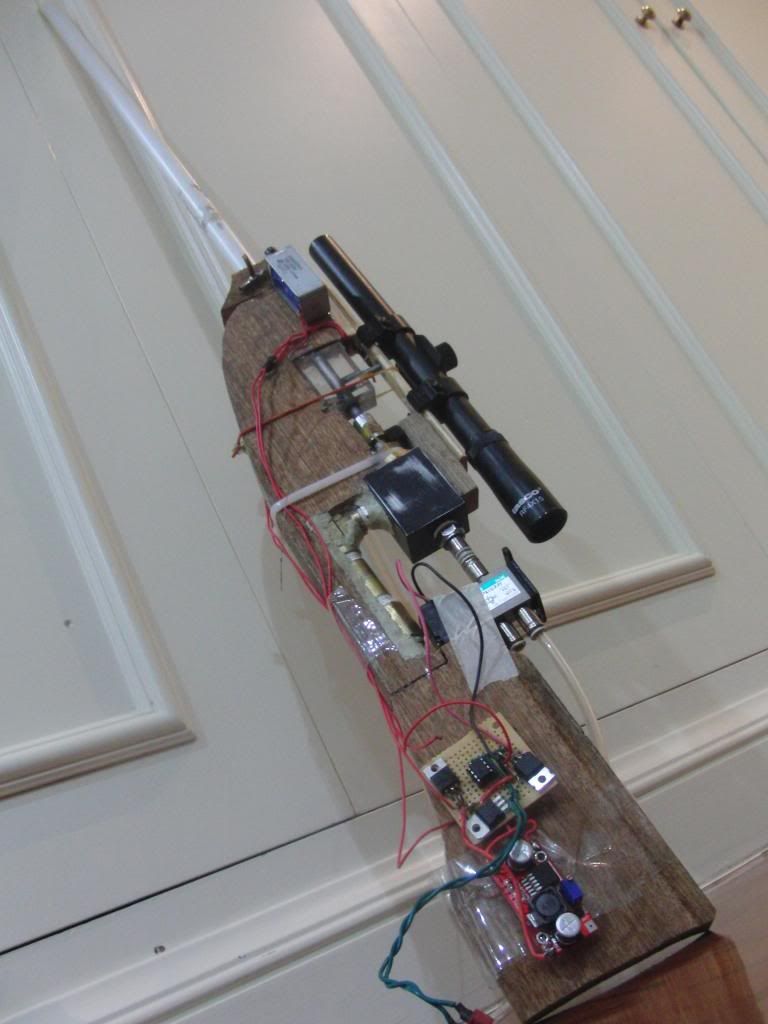
After becoming frustrated with the impracticality of my bbmg in airsoft games, and being too cheap to buy an alternative, I decided to create the most accurate airsoft gun I could.
Then, for the hell of it, I slapped a micro controller and 2 high power solenoids to it
Random Specs:
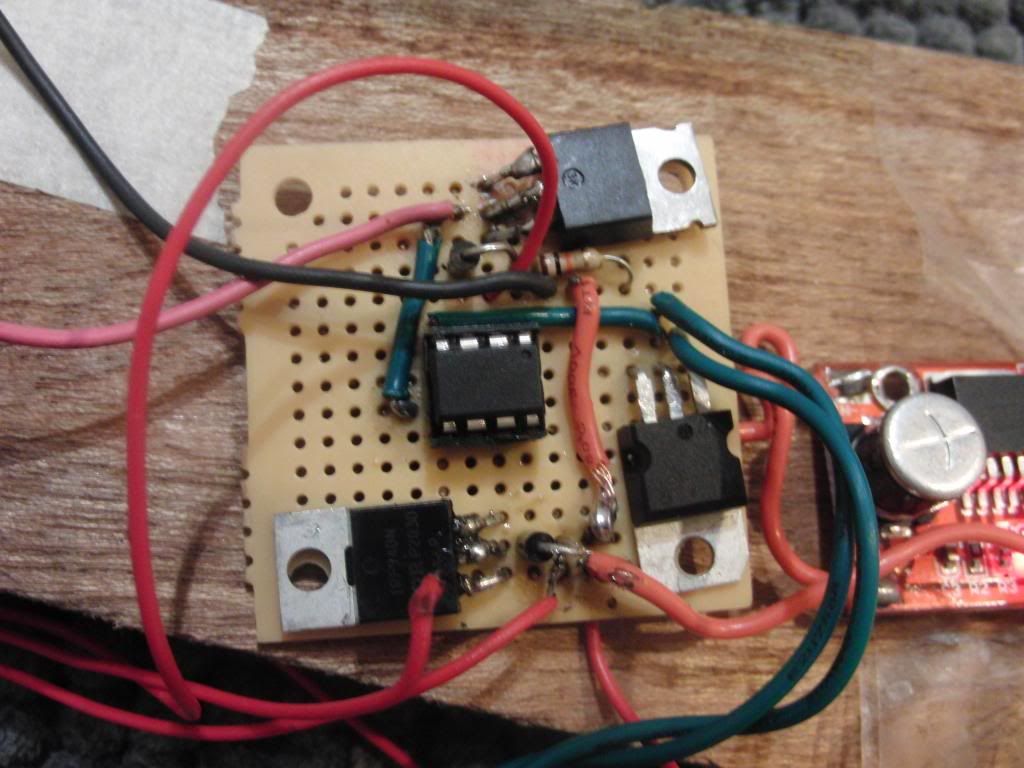
Controller: ATtiny85
Bolt: machined aluminum
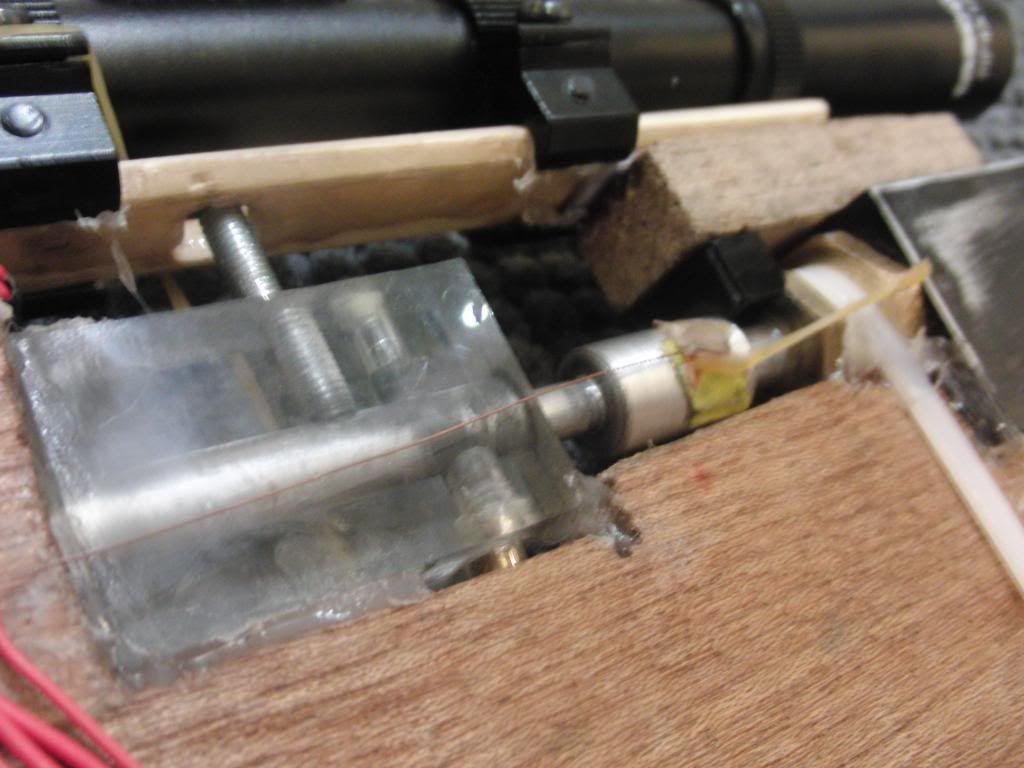
Receiver: drill press'd block of acrylic
Hop up: adjustable
Select fire
Practical operating pressure: 100-200 psi
Stuff:
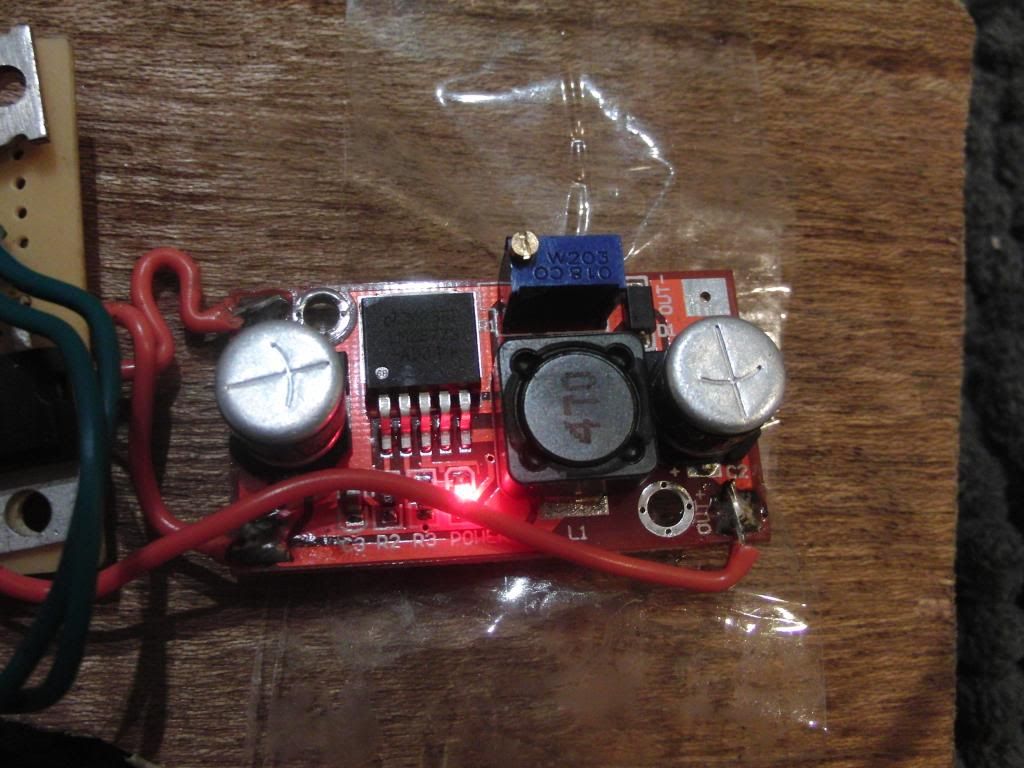
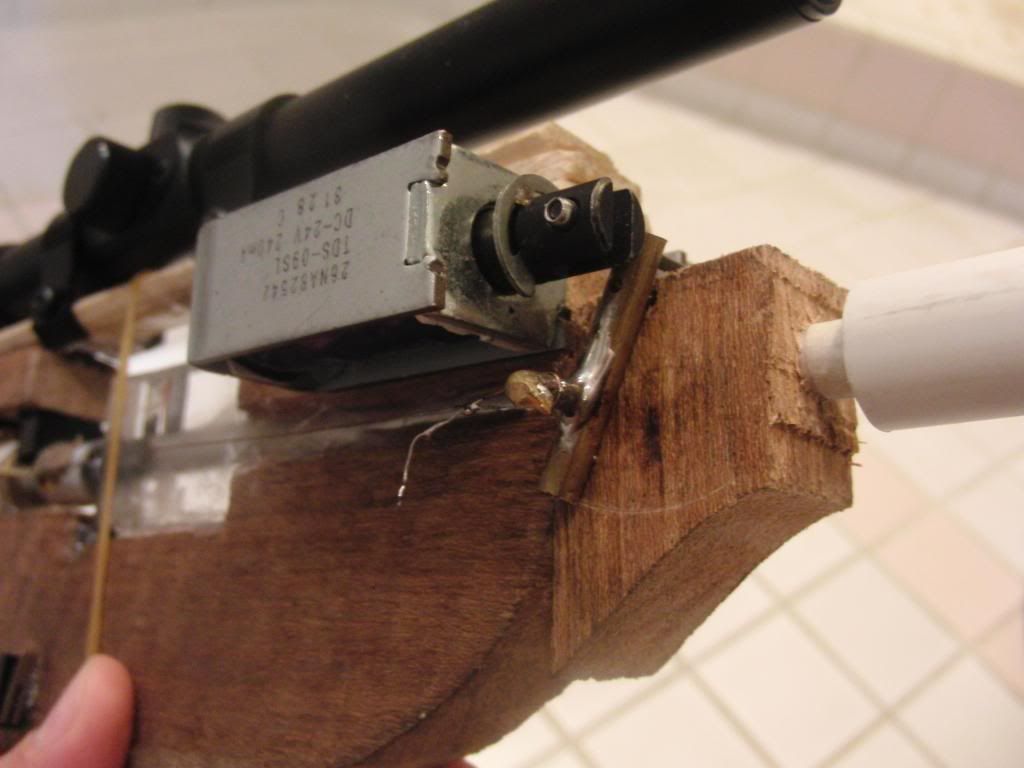
The pneumatics simply consist of a 3-way/QEV combo. More on this here for those who don't know what i'm writing about. 2x24v solenoids at the front of the gun load a bb and pull the breech closed when energized. Once fired, nothing but good old rubber bands pull this open again Both the 3/2 valve and the solenoids are over-voltage'd to 36 volts, which is supplied by the 12v-36v step up.
The firing cycle is controlled by the ATtiny when the trigger is pulled. This is the main advantage of a pneumatic/electronic gun v.s. a pure pneumatic gun. This way, I may change the firing mode, ROF, and possibly even power(although I haven't attempted to alter power yet)
A typical firing semi-auto cycle goes like so:
1. Trigger is pressed
2. Reloading solenoids energized to load bb and close breech
3/2 way valve simultaneously energized to allow air into the QEV.
3. 3/2 valve power is cut to vent QEV pilot and therefore fire gun
4. Power to reloading solenoids cut so the breech may retract to it's open position
5. Repeat
More pictures, videos, and descriptions will be soon.
Yes it's ghetto and ugly. But hey, it works
Step up:
Main Control board + ATtiny:
Receiver:
Solenoids:
And a short video of it cycling in semi auto mode:
There is still much work to be done and i'll try my best to keep this updated
Last time I wrote that I disappeared for a year
Then, for the hell of it, I slapped a micro controller and 2 high power solenoids to it
Random Specs:
Controller: ATtiny85
Bolt: machined aluminum
Receiver: drill press'd block of acrylic
Hop up: adjustable
Select fire
Practical operating pressure: 100-200 psi
Stuff:
The pneumatics simply consist of a 3-way/QEV combo. More on this here for those who don't know what i'm writing about. 2x24v solenoids at the front of the gun load a bb and pull the breech closed when energized. Once fired, nothing but good old rubber bands pull this open again
The firing cycle is controlled by the ATtiny when the trigger is pulled. This is the main advantage of a pneumatic/electronic gun v.s. a pure pneumatic gun. This way, I may change the firing mode, ROF, and possibly even power(although I haven't attempted to alter power yet)
A typical firing semi-auto cycle goes like so:
1. Trigger is pressed
2. Reloading solenoids energized to load bb and close breech
3/2 way valve simultaneously energized to allow air into the QEV.
3. 3/2 valve power is cut to vent QEV pilot and therefore fire gun
4. Power to reloading solenoids cut so the breech may retract to it's open position
5. Repeat
More pictures, videos, and descriptions will be soon.
Yes it's ghetto and ugly. But hey, it works

Step up:

Main Control board + ATtiny:

Receiver:

Solenoids:

And a short video of it cycling in semi auto mode:

There is still much work to be done and i'll try my best to keep this updated
Last time I wrote that I disappeared for a year

