High pressure pengun V3 *Update 7/18/10
Posted: Fri Jul 16, 2010 9:01 am
Well guys, It's been a few years since I posted any of my cannons and even so, a large majority of the guns I have built have never even been photographed. So pretty soon, I will be making a few different threads to show you guys what I have been up to for the past year.
As the topic states, this pengun is designed to be used at high pressures under 1000 psi. While many penguns are made of thin walled hobby tube that can only handle so much pressure, I used 1.5 mm thick high pressure brass tubing that i got from a local contracters supply. It is rated to about 3500 psi so there is no danger of it failing.
On this particular pengun I decided to the more advanced route and machine the piston out of solid aluminum rod. The piston has an oring and as far as I know, the smallest piston check valve ever built. The piston alone took 4 hours to make and it was tedious work, but I'm very pleased with the results. To make the check valve, i had to take a .5 mm drill bit and drill all the way through the piston, about 1mm from the edge. Then i took a 1mm drill bit and drilled 2 mm into one side of the hole. Next, I took a 1mm nail art ball and put it into the hole and glued a very small rubber washer over the top and it created my sealing face as well as the end of the valve.
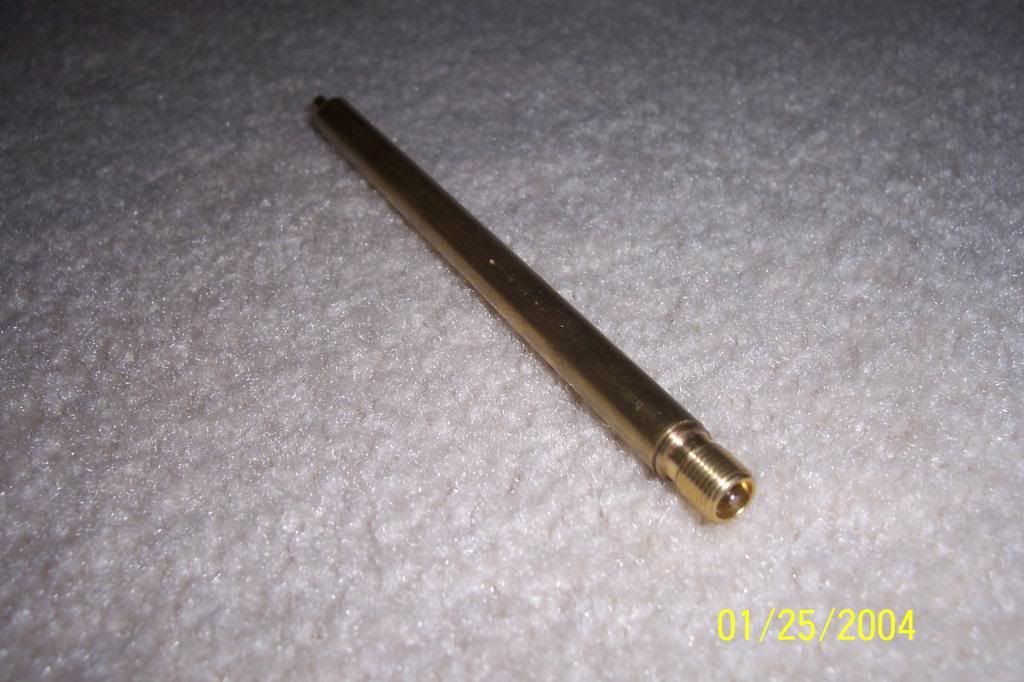
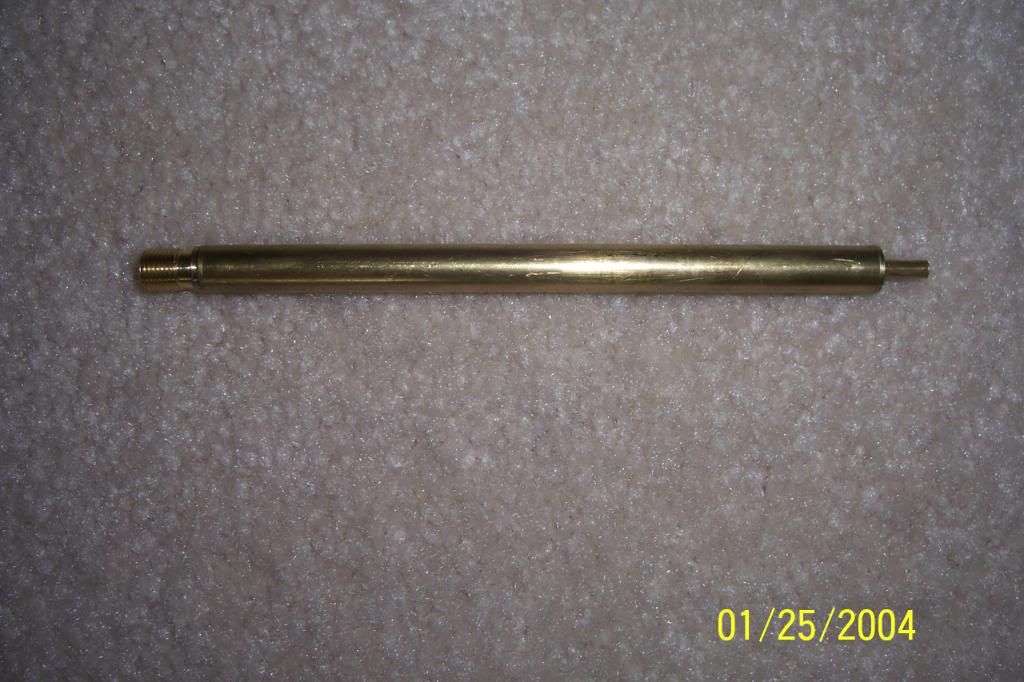
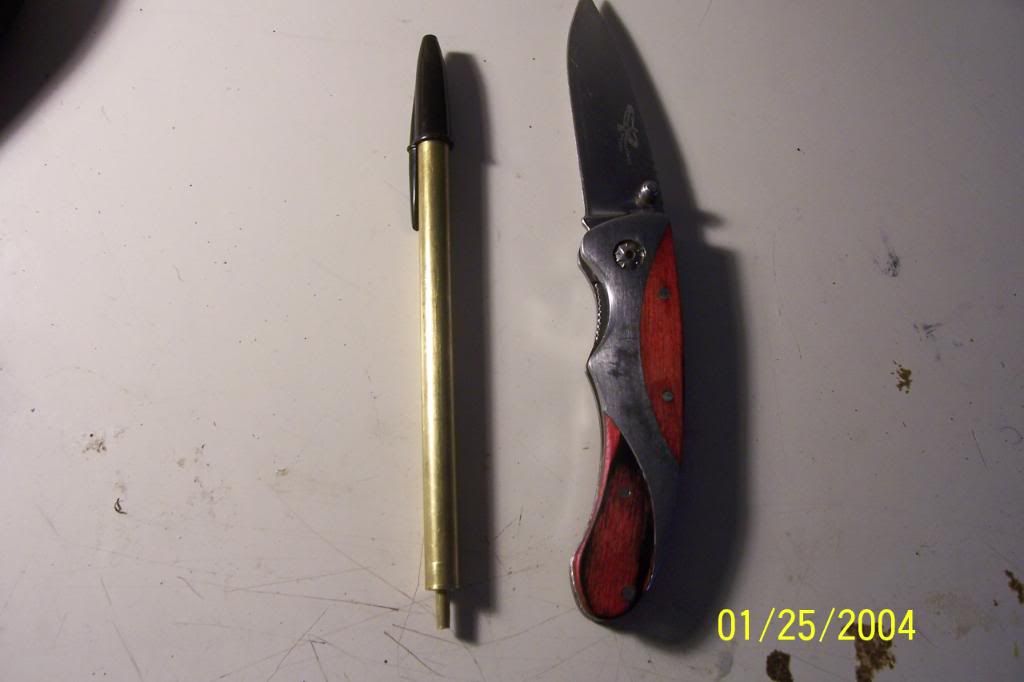
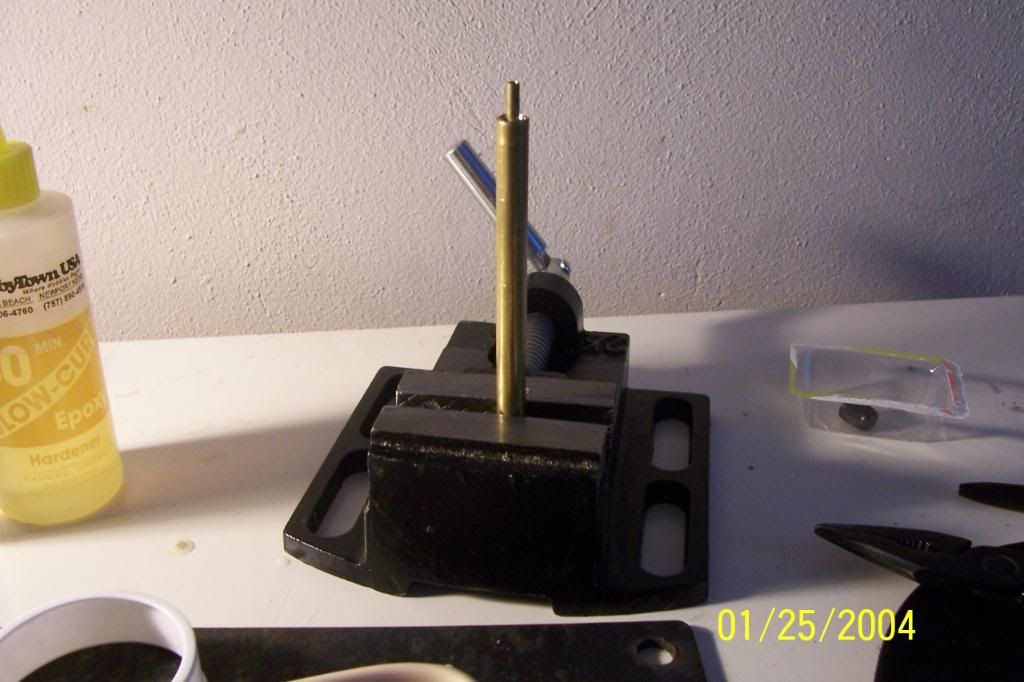
I'll have a video up soon, as well as pictures of the piston, but for now here are a few to give you a general idea of what the pengun looks like.





