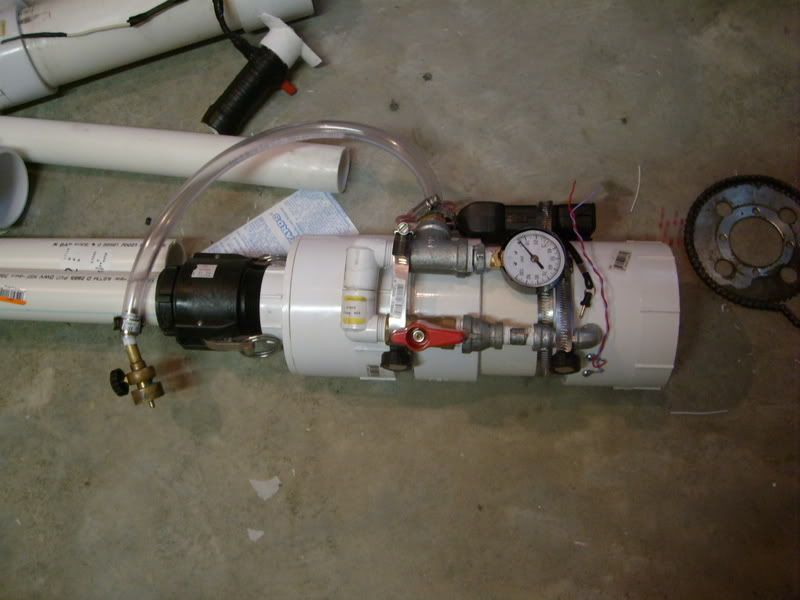
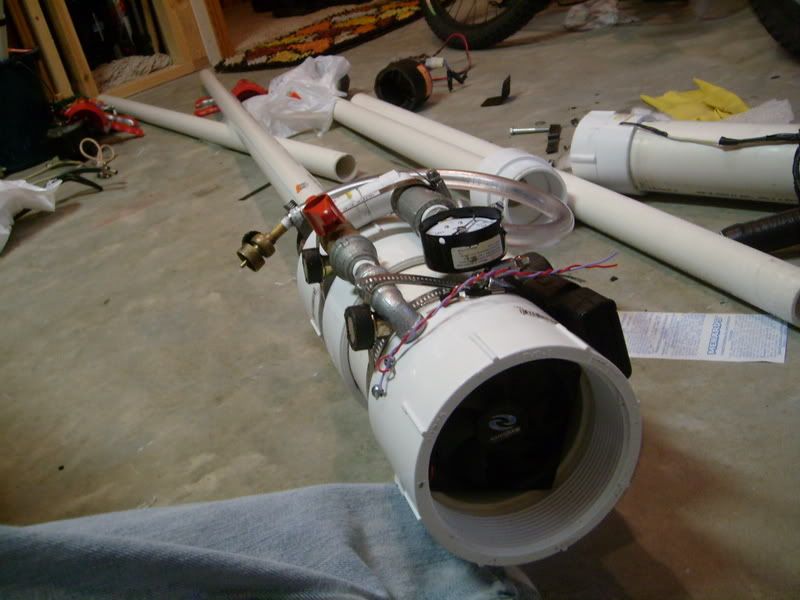
Help Building "V3" advanced combustion

Boom! The classic potato gun harnesses the combustion of flammable vapor. Show us your combustion spud gun and discuss fuels, ratios, safety, ignition systems, tools, and more.
User avatar
metallover
Private 4
Private 4
Posts: 95
Joined: Fri Apr 18, 2008 12:20 pm

Thu Feb 12, 2009 11:44 pm

Here's a final update on the gun for today. I got the wrong fittings at true value so I didn't finish the propane meter. I will get the right ones tomorrow.

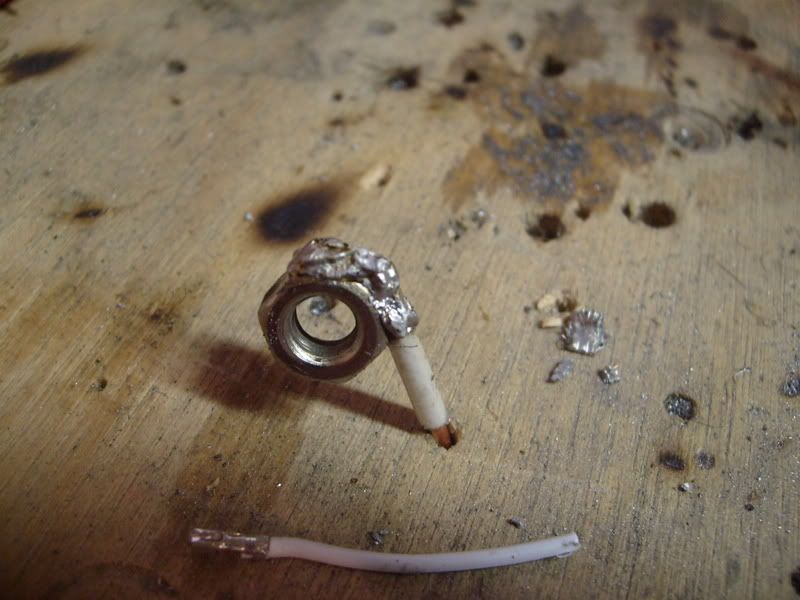
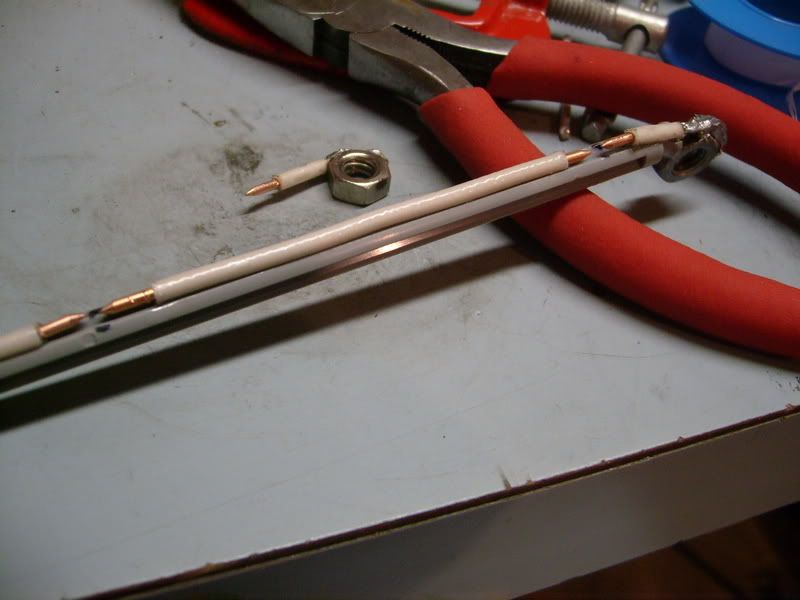
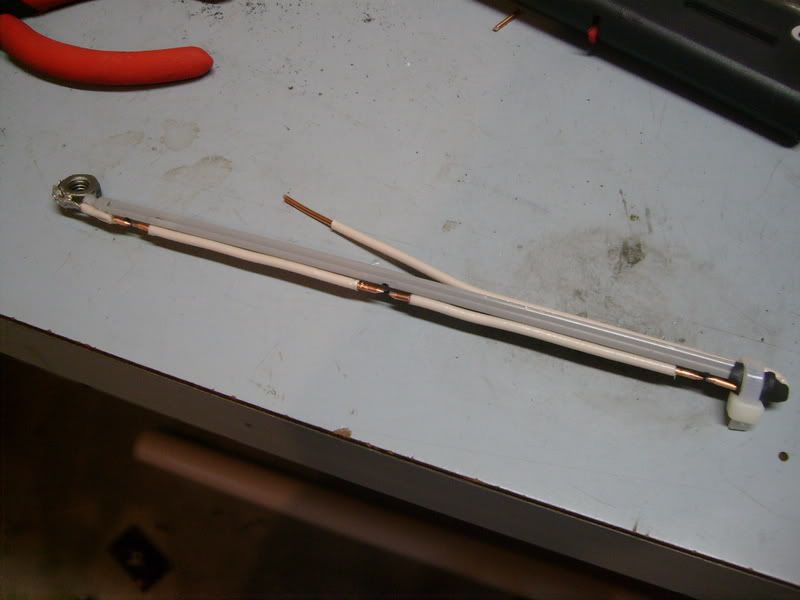
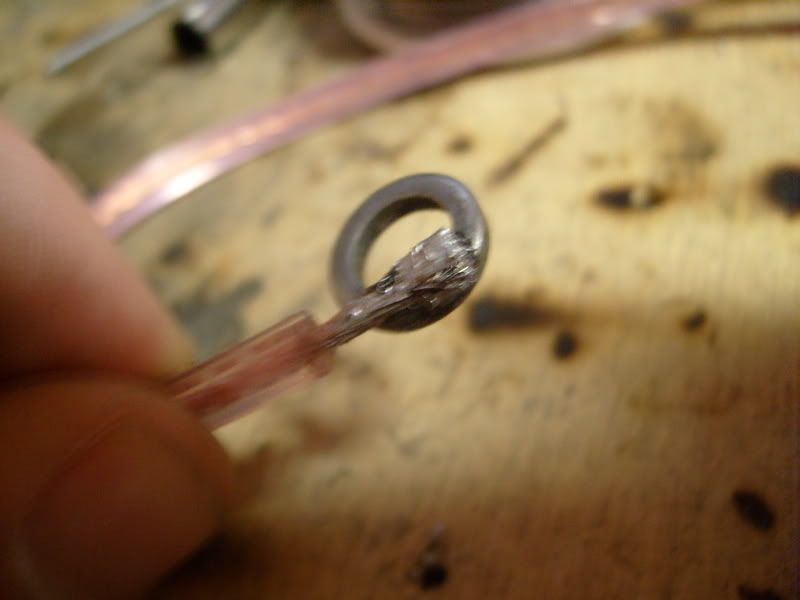
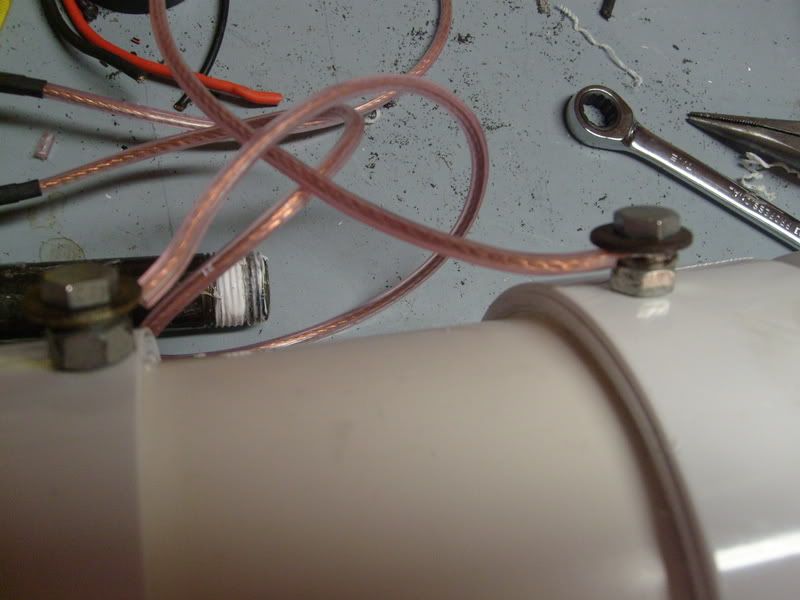
I started work on the spark strip. I am using this random plastic rod I found. For the conacts I am using wire that would normally go to outlets and other home wiring. I sharpened the ends of the wire to get a better spark. At the ends of the spark strip the wire is soldered to two bolts which will hold the spark strip in place as well as transfer the juice.

I plan on putting the spark strip right in the middle of the chamber, and I have pretty much ruled out a coaxial. I even got some fittings to make an over/under cannon. If you have any thoughts on that please share them. I'll be able to switch back and fourth because it all screws on.

Here's some pics of my progress-
[OLD meter]
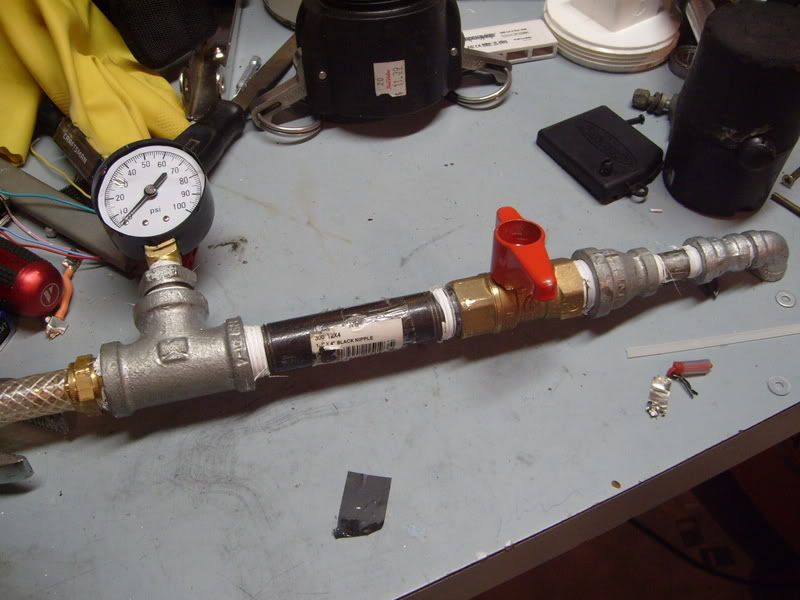
Image
Image
Image
Image
User avatar
roboman
Specialist
Specialist
Posts: 176
Joined: Tue Nov 25, 2008 11:18 pm
Location: Long Beach, CA

Fri Feb 13, 2009 12:00 am

Looks nice, although you may want to clean up that solder joint.
User avatar
Combustion Monkey
Specialist
Specialist
Posts: 153
Joined: Sun Jan 11, 2009 3:01 pm

Fri Feb 13, 2009 11:07 am

Are you using only one ball valve on your meeter? If so how are you going to regulate the charge?
User avatar
metallover
Private 4
Private 4
Posts: 95
Joined: Fri Apr 18, 2008 12:20 pm

Fri Feb 13, 2009 11:12 am

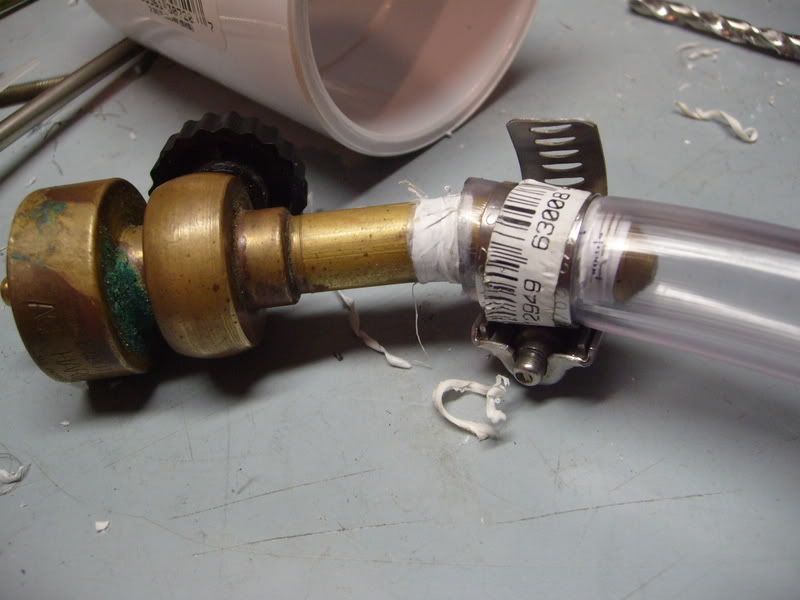
I might get two. Right now I'm using a torch hooked up to a hose. There is a small valve on that. You'll be able to see it later.
User avatar
starman
Sergeant Major
Sergeant Major
United States of America
Posts: 3027
Joined: Wed Dec 12, 2007 12:45 am
Location: Simpsonville, SC

Donating Members

Fri Feb 13, 2009 12:34 pm

How are you connecting the spark strip backbone to those nuts on the end? Also, have you tested your gaps to make sure you can jump them all with a spark? The gaps look like they might be shortened some. I would like to see how you end up mounting it in your chamber.

Keep pluggin' you're making good headway. Your at the places that require more thought and tedium to get through....fuel meters, spark strips etc.

Oh and that solder job on the nut...looks like you need a little more heat to to finish it off. Run a propane torch over it knock off some of the excess.
User avatar
metallover
Private 4
Private 4
Posts: 95
Joined: Fri Apr 18, 2008 12:20 pm

Fri Feb 13, 2009 12:41 pm

Thanks for the motivation! I'm pretty close to done. I hope to finish today.

Here's a pic of the spark strip almost finished. I tested it and it worked pretty dang good. I will mount one end with the bolt and nut, the current will go through that. The way my chamber is set up with the male threads on one end (accident) I will mount it a little oddly. You'll see a little later.

I am just about to mount the fan electrodes too. Once I make another trip to the hardware store I'll get the metal all finished up. After that I just need to mount the stun gun and maybe the battery then I'll be good to go.

Image
User avatar
Combustion Monkey
Specialist
Specialist
Posts: 153
Joined: Sun Jan 11, 2009 3:01 pm

Fri Feb 13, 2009 12:47 pm

Cant wait to see the finished product. Your spark strip looks like it will work well. Will the strip run almost the full length of your chamber? I wish I had some of that wire kicking around when I built mine.
User avatar
metallover
Private 4
Private 4
Posts: 95
Joined: Fri Apr 18, 2008 12:20 pm

Fri Feb 13, 2009 1:20 pm

I've got tons of extra wire in smaller segments if you want any...

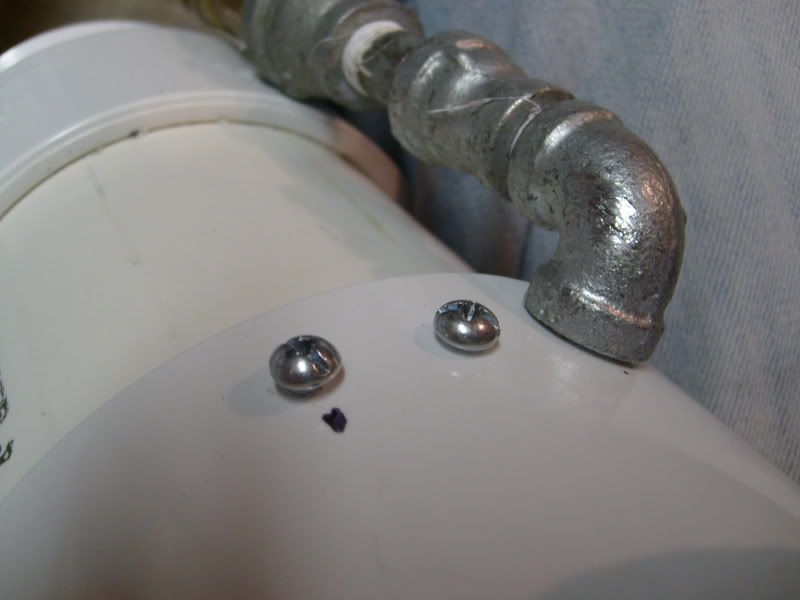
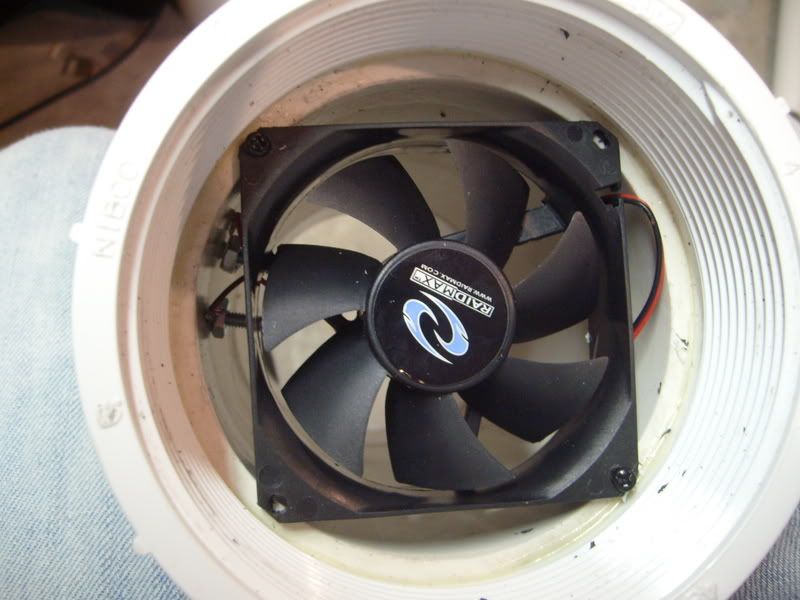
I got the fan finished up. I realized last night it would be a real bitch to have the fan screw in and then attach the terminals to the bolt and tighten them. I dremeled the corners of the fan more and not it's attached with two screws.

The chamber is a little messy in the pics, but the setup is solid. Now I just need to get back to installing that dang spark strip...

Image
Image
User avatar
Combustion Monkey
Specialist
Specialist
Posts: 153
Joined: Sun Jan 11, 2009 3:01 pm

Fri Feb 13, 2009 1:31 pm

I installed my fan the way you first had yours setup and it was ddefinitely capable of having poppies. I may have to use screws on my next fan installation. Bloody knuckles are fun and all but they get old after a wile.
User avatar
metallover
Private 4
Private 4
Posts: 95
Joined: Fri Apr 18, 2008 12:20 pm

Fri Feb 13, 2009 2:56 pm

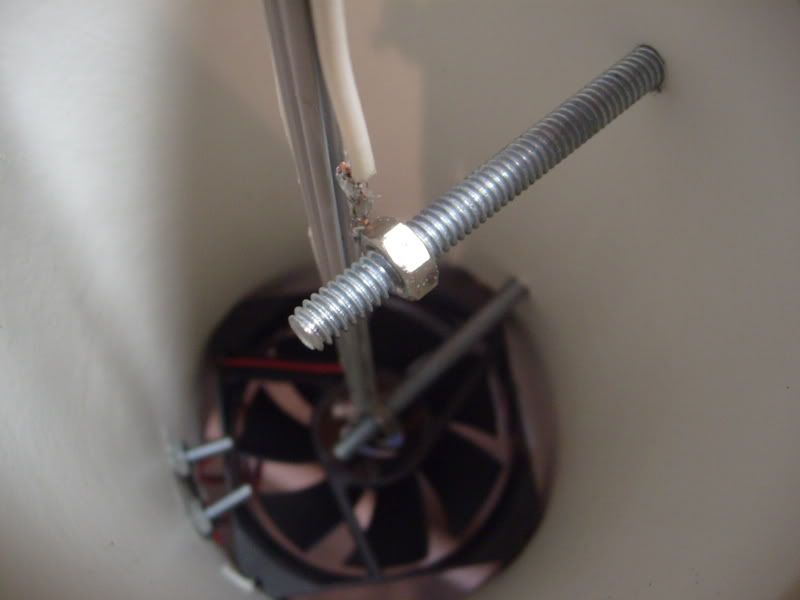
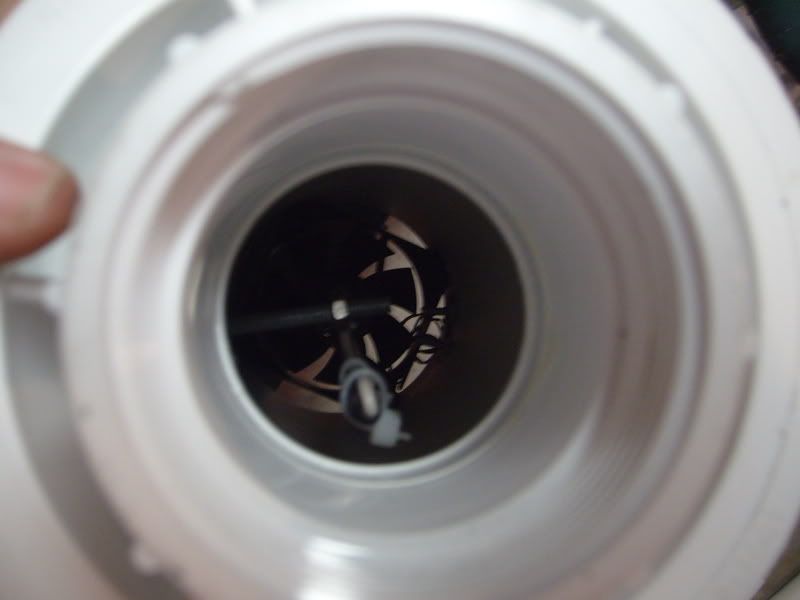
Just finished up the spark strip. I know my solder joints aren't the best, but after a few minor tweaks I have it to the point where it doesn't default at all anymore. I think it turned out pretty good.

I'd like to point out it looks pretty dang bad on the inside but its the outside that counts. I hope to get some insulation around those huge protrusions like they do with a car battery.

Image
Image
Image
Image
User avatar
metallover
Private 4
Private 4
Posts: 95
Joined: Fri Apr 18, 2008 12:20 pm

Fri Feb 13, 2009 5:41 pm

I am now 99% complete. I just need to mount the fan battery. I am using a 9v in the stun gun for now...

I ended up taking one of the gaps out of the spark strip because I had a "dryfire" with my stun gun and really didn't want to risk another one.

Here are some pics. Lots of them.

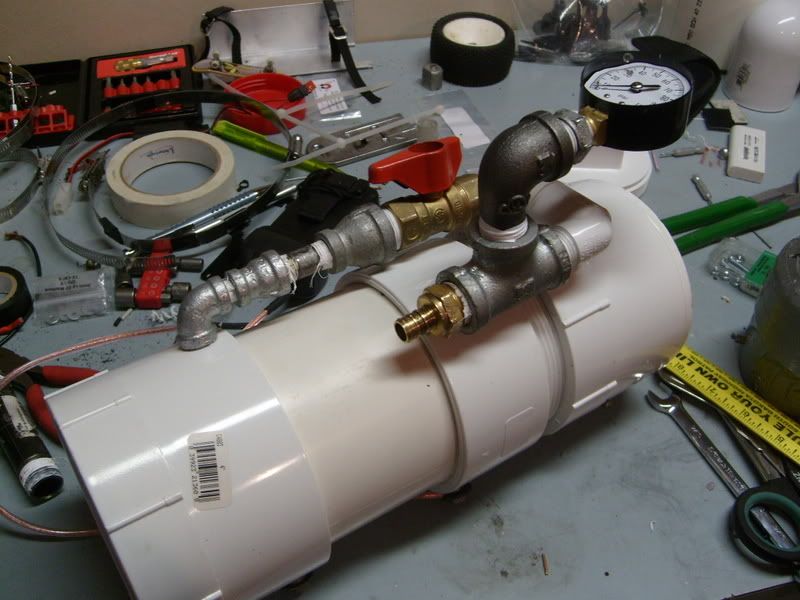
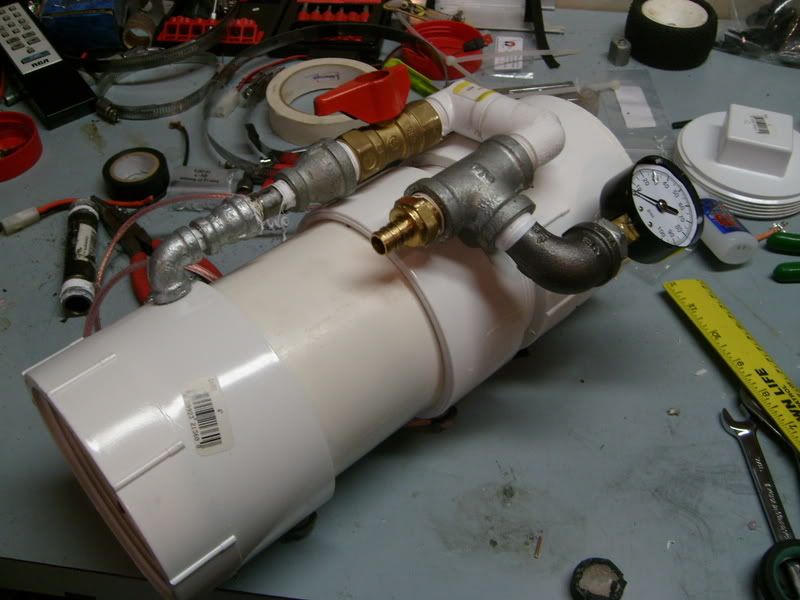
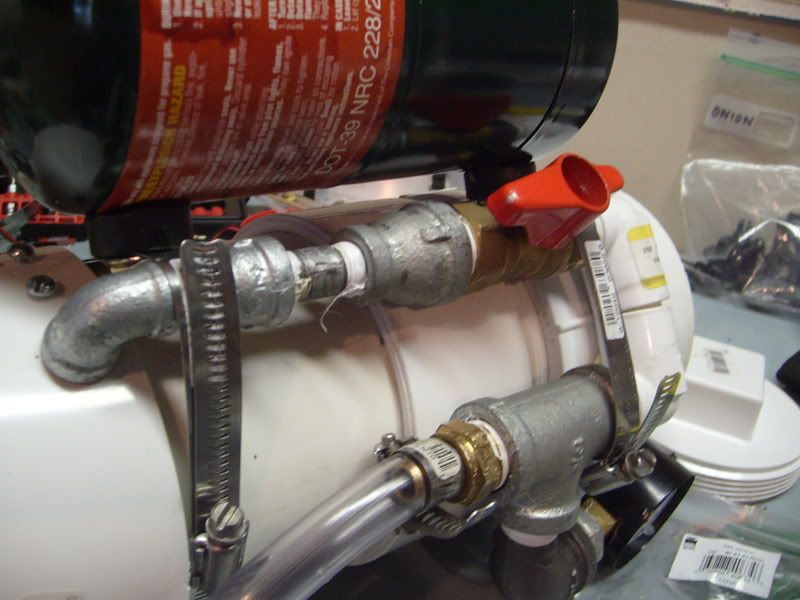
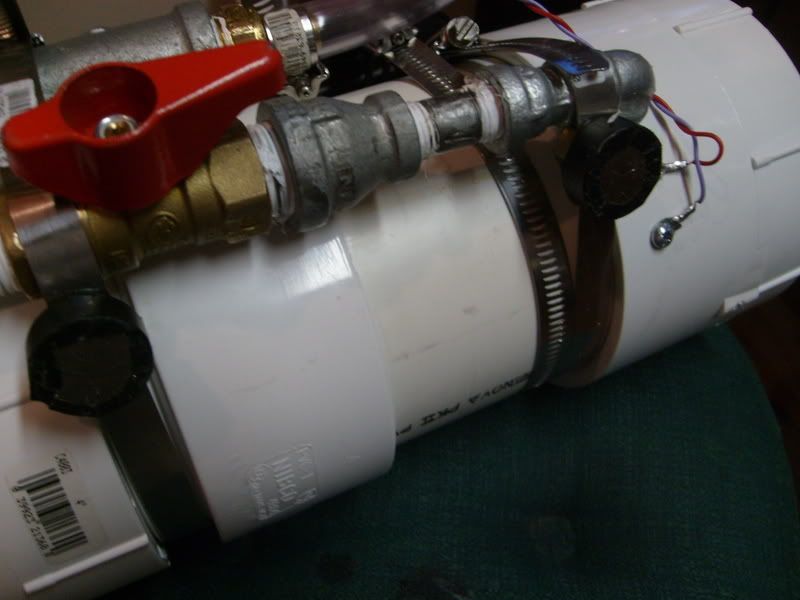
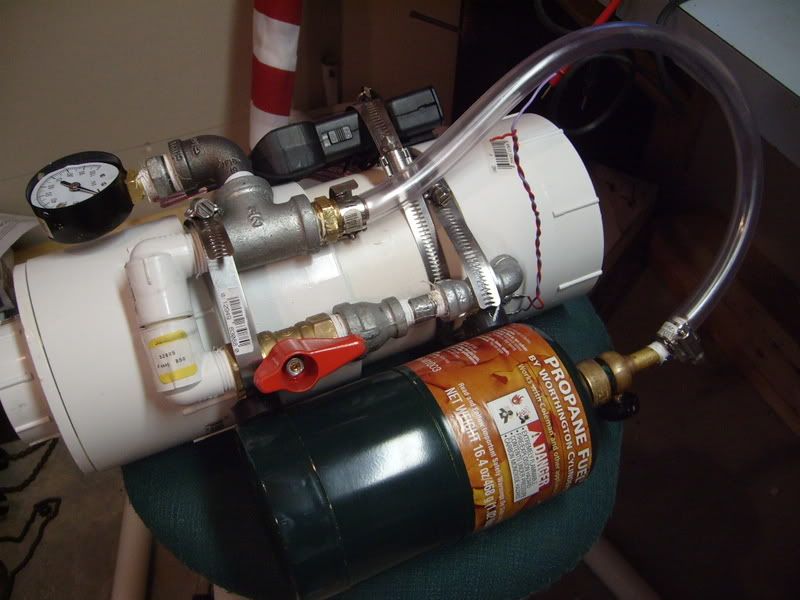
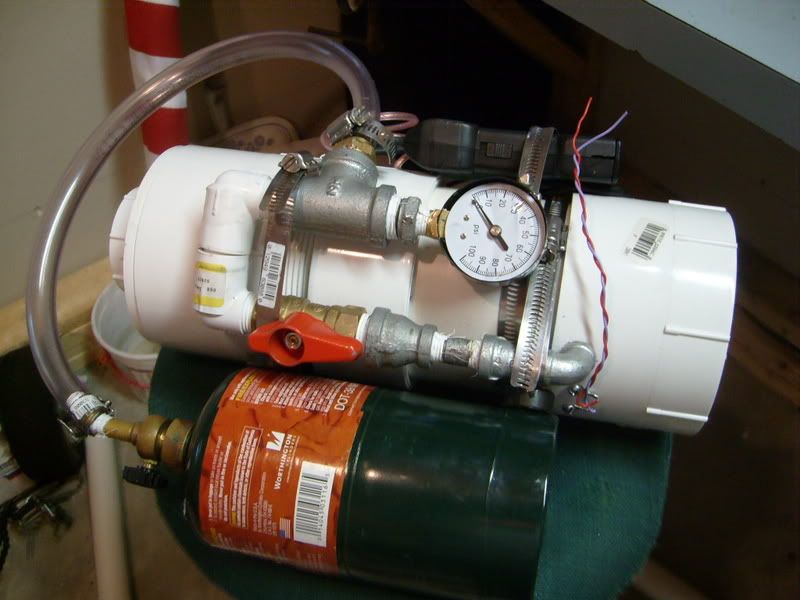
I used pvc to finish off the propane meter. Probably not the best decision but it should hold up. If not I can always replace it.
Image
Image
This is the second valve I was talking about earlier. How I have it set up is free and works just fine with no leaks.
Image
I used two very strong Neyodymium magnets to hold the propane cyllender on. They are each rated to hold over 60 pounds.
Image
Image
First configuration
Image
Final configuration
Image
whole chamber
Image
whole gun
Image


I might get a few test shots off tonight. I just guess on the propane psi and try different amounts until it feels the best. I am looking forward to messing around with this tons during this summer. I can take more pics if anyone wants them.

This isn't a "true" advanced cumbustion as of now. I am still going to use a cleanout cap on the back and take that off after every shot insted of a ball valve or one way pop off valve. I will probably make that this summer when I feel like upgrading the cannon. I also have the parts for an over/under configuration but I'll hold off on making that too.

Please, Tell me what I can improve on! 8)
User avatar
inonickname
First Sergeant 4
First Sergeant 4
Posts: 2606
Joined: Sun Dec 07, 2008 3:27 am

Fri Feb 13, 2009 6:06 pm

Nice work on it! Add another bv to the fueling, and perhaps a 1" on the back for venting.

Nice job, lets see some damage!
PimpAssasinG wrote:no im strong but you are a fat gay mother sucker that gets raped by black man for fun
User avatar
metallover
Private 4
Private 4
Posts: 95
Joined: Fri Apr 18, 2008 12:20 pm

Fri Feb 13, 2009 6:40 pm

I took it out for the first shot. I started metering the propane and I wasn't getting any preassure. At first I thought oh crap, my old pressure gauge went out on me again. Then I thought it was the cold. It is 23.5 degrees out at the moment. Too cold for more then a couple test shots...

Anyway I went inside and I fiddled around with it and I realized the ball valve was opened the whole time. :oops: :D :D

I closed it up and tried it out. First try at 15psi didn't work. Next try at 18psi didn't work. Third try at ~8psi got it to fire. It wasn't an amazing shot by anyone's standards, but I'm sure future shots will be great. I'm pretty sure my fuel preassure isn't dialed in and the tempurature being a little warmer wiould've helped too.

I am going to wait until it is a little warmer out to do much more shooting. Once it hits t-shirt weather at about 45 I should be able to have a nice round of shooting.
User avatar
Combustion Monkey
Specialist
Specialist
Posts: 153
Joined: Sun Jan 11, 2009 3:01 pm

Fri Feb 13, 2009 6:40 pm

Good job. It came together very well for you in the end. Just one question. What do you hold it by when you fire it?
User avatar
metallover
Private 4
Private 4
Posts: 95
Joined: Fri Apr 18, 2008 12:20 pm

Fri Feb 13, 2009 6:43 pm

The handles are yet to be made. I held the barrel with my left hand and I held on to the stungun with my right hand. That and I had to help support and balance the gun with my right leg. It really wasn't too awkward to shoot.

I forgot to mention in my last post that I didn't have any "default gappers" and I couldn't find any leaks. This cannon doesn't have any design flaws or building error that I could see yet. I hope it stays that way. Once I get the amount of propane dialed in I should have 100% reliability.

On my first cannon, which was a spray 'n pray, I had about 25% reliability. With my second cannon, which was a metered propane BBQ ignitor, I started out with a good 80% reliability. That dropped to about 40% as time went on. due to a wire going to one of the electrodes shorting on a pipe clamp.
Post Reply