Building or modifying BB, Airsoft, and Pellet type of guns. Show off your custom designs, find tips and other discussion. Target practice only!
-
Davidvaini
- Sergeant 4

- Posts: 1315
- Joined: Tue May 29, 2007 8:58 pm
Mon Dec 15, 2008 2:57 am
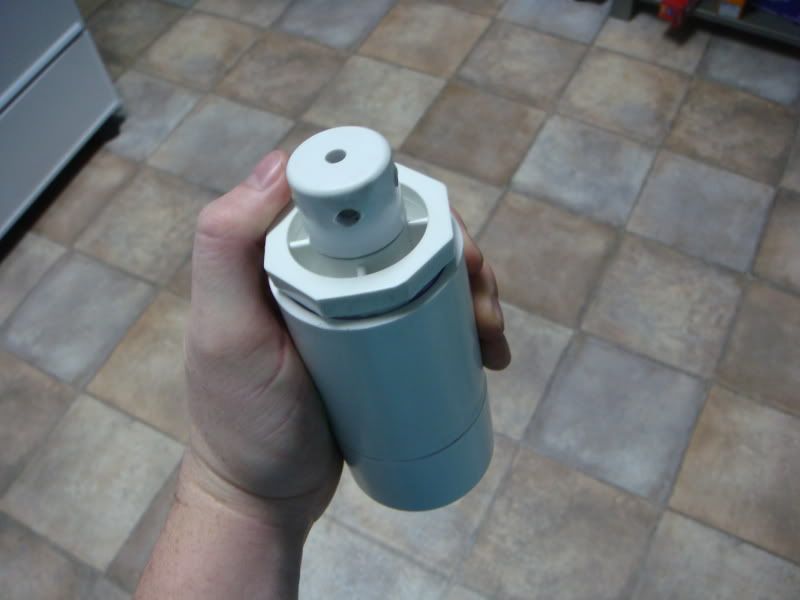
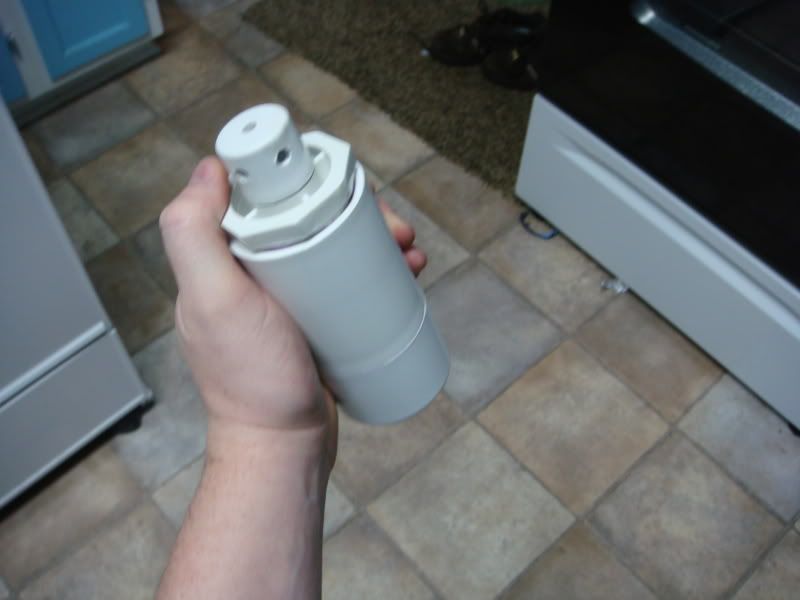
UPDATE:


It's not finished yet.. though it looks like it is.
The tire valve is in and I've been testing it.. I've gotten it to work a few times with about a 5 second delay.
Now the problem.. The cap used to push the foil tape on isnt long enough and im not getting a good seal with the foil tape. I need to make it a little longer.
I'm going to be painting it soon, It's just the weather here in Wisconsin kinda stinks right now.
-
Lentamentalisk
- Sergeant 3

- Posts: 1202
- Joined: Tue Aug 07, 2007 5:27 pm
- Location: Berkeley C.A.
Mon Dec 15, 2008 3:19 am
That looks incredibly clean! Nice work.
Do not look back, and grieve over the past, for it is gone;
Do not be troubled about the future, for it has not yet come;
Live life in the present, and make it so beautiful that it will be worth remembering.
-
Davidvaini
- Sergeant 4

- Posts: 1315
- Joined: Tue May 29, 2007 8:58 pm
Mon Dec 15, 2008 1:25 pm
thanks, I just realized im out of the color paint I wanted to use.. I'll have to run up to the store sometime and buy some.
-
Davidvaini
- Sergeant 4

- Posts: 1315
- Joined: Tue May 29, 2007 8:58 pm
Thu Jan 01, 2009 4:01 pm
hey guys, guess what! I painted it OD green. The cap needs to be re-done though.. So I will be uploading some pics soon!
-
Davidvaini
- Sergeant 4

- Posts: 1315
- Joined: Tue May 29, 2007 8:58 pm
Wed Feb 25, 2009 7:51 pm
Yes new update will come shortly, I have to rebuild a new cap end for it because the old one is no good.
Once I rebuild a new one and paint it, I will shoot some video of it going off.. The project was temporally on hold for a short time.
-
Hubb
- First Sergeant 2

- Posts: 2390
- Joined: Mon May 28, 2007 8:39 am
- Location: South Georgia
-
Contact:
-
SEAKING9006
- Corporal 3

- Posts: 734
- Joined: Mon Jun 23, 2008 3:20 pm
- Location: Texas
Wed Jun 03, 2009 5:41 pm
Hey guys, I have an announcement! Can you guys guess what I'm doing next week?
I'mma gonna be goin' ta colledge and buildin' NADES!
I just got back from Home Depot after an early release school day (second to last!) and I got most of the parts I'll need to build two grenades. The first will be the regular fill-it-and-throw variety, but the other, will be a PRE-CHARGED TRIGGERED GRENADE.
I figured out a way to pre charge one of these and trigger it to start filling the burst chamber WITHOUT a complex mechanism. I'm not telling you guys exactly WHAT it is until it's done, because I don't want any of you bastards taking my idea and doing it before I get my hands on some schraeder valves! (And with a rethink I just had, the triggered nade might not even need a schraeder.)
By the way David, did you actually get the coupling to fit inside the bushing? I'm curious as to exactly what you did there, since your diagram shows a bushing with a coupling fit through it. I have an idea how to do it without putting it all the way through, but that might leave a weak joint and it would be difficult to solvent weld it at a specific depth.
-
gunzz
- Private 2

- Posts: 25
- Joined: Sat May 30, 2009 6:12 am
Fri Jun 05, 2009 12:12 am
use 2 burst disks at either end of a pipe. put the flour between them. i do it all the time for things like water,flour,TP,etc.
-
SEAKING9006
- Corporal 3

- Posts: 734
- Joined: Mon Jun 23, 2008 3:20 pm
- Location: Texas
Mon Jun 08, 2009 8:31 am
Well, It's 8:30 and I'm here at Home Depot posting from my good old BB. I'm trying to remember where the 1/16 in rubber is. Looks like I'm using a secondary cap design, since David didn't post in time.


